
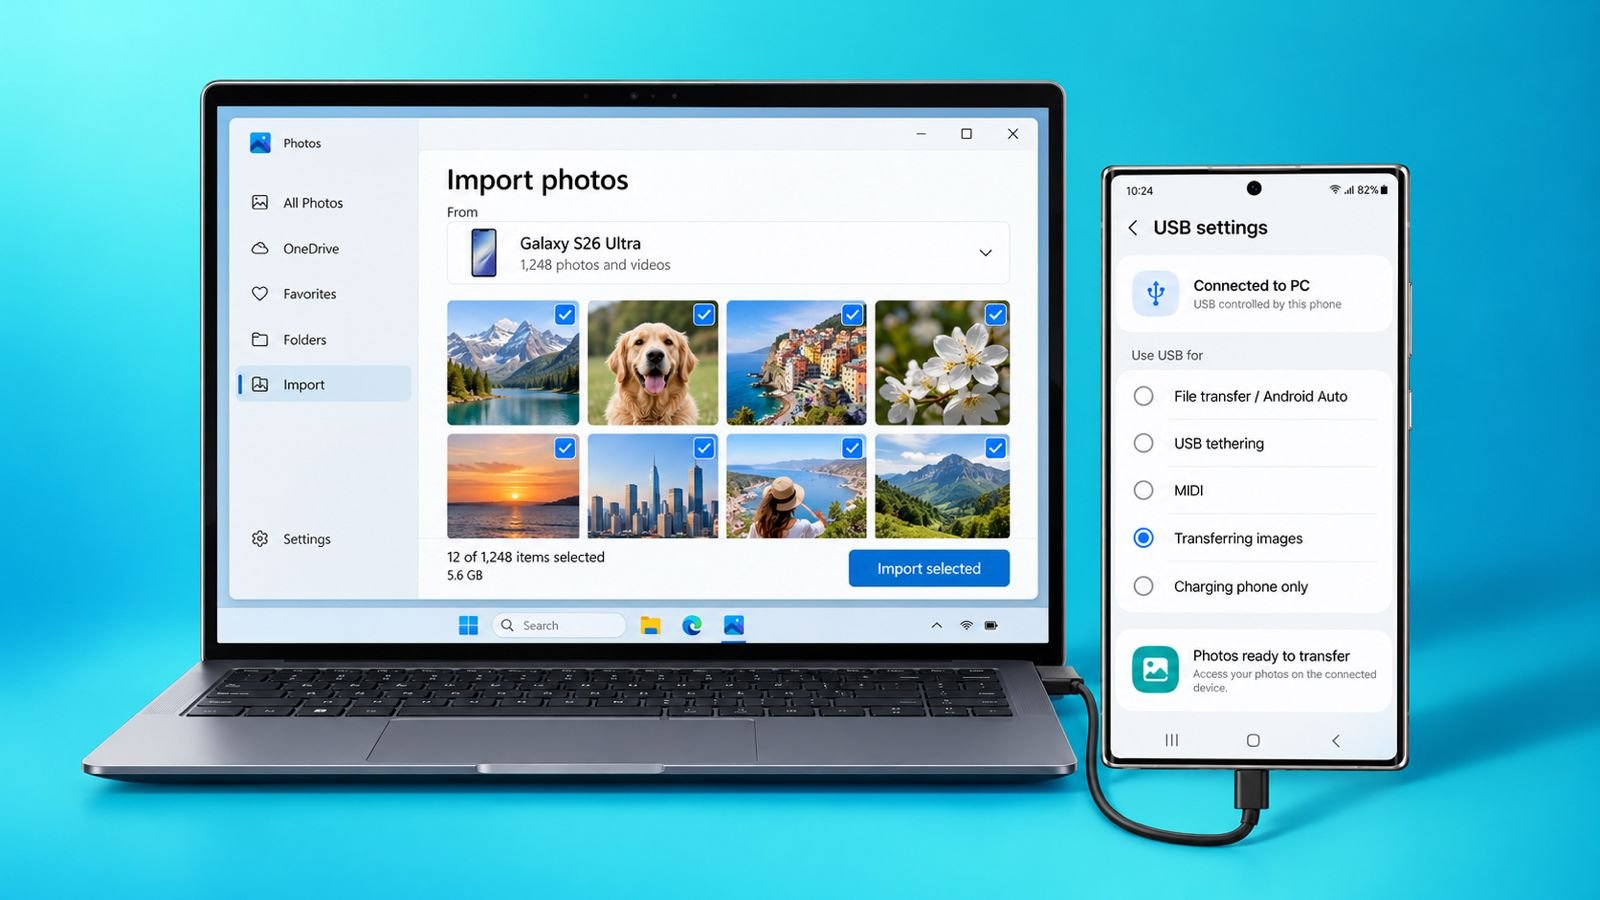

Transfer Photos from Android to a PC without complicated steps. Whether you’re backing up memories or freeing storage, several methods make transferring pictures easier.
You can use USB cables, Wi-Fi, cloud storage, or Bluetooth.
Take Your Pictures from Android to PC With USB’s Help
A USB cable is a practical choice for transferring photos. It creates a direct connection between your phone and computer. Unlike wireless methods, it doesn’t require an internet connection.
This method is particularly useful when transferring hundreds of pictures. It also helps when your internet connection is unreliable. You only need a compatible USB data cable.
Steps to Transfer Photos Using USB
Follow these steps to move your pictures:
- Connect your Android phone to your computer using a USB data cable.
- Unlock your phone to allow access.
- Swipe down to open your notification panel.
- Tap “Charging this device via USB”.
- Select “File Transfer” or “MTP” under USB preferences.
- Open File Explorer on your Windows computer.
- Find your Android phone under connected devices.
- Double-click your phone to open its storage.
- Navigate to Internal Storage > DCIM > Camera.
- Select the pictures you want to transfer.
- Drag and drop them into your computer’s folder.
- Wait until all selected photos finish transferring.
Important: Your phone must use File Transfer mode. The “No data transfer” option prevents access to photos. Avoid disconnecting your phone during the transfer process.
Once everything finishes, safely eject your phone. Right-click your device inside File Explorer. Select “Eject” before removing the USB cable.
Transfer Photos from Android to Mac
Mac users can transfer pictures using Image Capture. The process is slightly different from Windows computers.
- Connect your Android phone using a USB cable.
- Unlock your phone and select File Transfer.
- Open Image Capture on your Mac.
- Select your Android phone from the sidebar.
- Choose “Import All” or select individual pictures.
- Open the “Import To” menu.
- Select “Save items to your computer”.
- Click “Download” or “Download All”.
You can also create PDFs or webpages containing pictures. After downloading, locate your device in Finder. Click the Eject button before disconnecting your phone.
Where to Find Transferred Photos
Finding transferred pictures is usually straightforward. Windows users can open File Explorer. Mac users can locate their pictures through Finder.
If your phone’s folders don’t appear, reconnect it. Make sure your phone is unlocked. Approve any permissions requested by your computer.
Transfer Using Wi-Fi
Wireless transfers are useful without USB cables. They provide flexibility when moving pictures between devices. However, both devices need a suitable connection. Droid Transfer is one available wireless solution.
It lets users manage different Android files. You can browse, copy, delete, and add files. It also supports photos, messages, music, and contacts.
How to Transfer Photos Using Droid Transfer
First, prepare both devices for wireless connection.
- Download and install Droid Transfer on your PC.
- Launch the software on your computer.
- Install the free Transfer Companion app on Android.
- Connect both devices to the same Wi-Fi network.
- Open Transfer Companion on your Android phone.
- Scan the QR code displayed on your computer.
- Wait until both devices connect successfully.
- Open the “Photos” category inside Droid Transfer.
- Browse pictures stored on your Android device.
- Select your preferred pictures.
- Click “Save to PC” to begin.
- Choose your destination folder and confirm.
Your selected photos will transfer through Wi-Fi. You don’t need to connect a physical cable.
Create Regular Photo Backups
Droid Transfer also supports regular photo backups. Its “Export New Photos” feature helps simplify this process. Choose an existing folder or create another.
The software scans your selected destination folder. It identifies photos that haven’t been saved previously. You can then export selected pictures or everything.
During future backups, it detects newly added photos. This prevents repeatedly transferring your existing photo collection. It’s particularly useful for people taking pictures daily.
Transfer Photos and Other Files Back
Droid Transfer also supports transfers from PC to Android. Select “Add Photos to Device” inside the software. Choose pictures stored on your computer. The application transfers them to your Android phone.
Other supported features include:
- Files: Transfer individual files or complete folders.
- Contacts: Import contacts using vCard or CSV files.
- Music: Transfer songs from computers or iTunes.
- Videos: Add videos for convenient mobile access.
These features make Droid Transfer useful for file management. However, some features may require compatible software versions.
Transfer Using Cloud Storage
Cloud storage provides another convenient wireless solution. Services like Google Drive and Dropbox support file synchronization. Google Photos is another option for picture backups.
These services let you access pictures across devices. You can upload photos directly from your phone. Later, you can download them onto your computer.
Transfer Photos Using Google Drive or Dropbox
Follow these steps to move your pictures:
- Visit your preferred cloud service’s website.
- Register for an account if necessary.
- Download its application on your Android phone.
- Open the application and sign in.
- Select the pictures you want to upload.
- Upload your selected photos to cloud storage.
- Open the same service on your computer.
- Sign in using your existing account.
- Find your uploaded pictures and download them.
Your pictures will now be available on your computer. You can also access them through other devices.
Transfer Photos Using Google Photos
Google Photos is designed specifically for managing pictures. It offers wireless backups and convenient photo access.
To get started, install Google Photos on Android. Sign in using your Google account. Enable backup and choose your preferred settings.
Make sure your phone has a stable internet connection. Open Google Photos through your computer’s browser. Sign in using the same Google account. Find your backed-up pictures and download them.
Benefits and Limitations of Cloud Storage
Cloud services are useful for automatic synchronization. You can access your pictures from different locations. They also support sharing photos between devices.
However, cloud storage has some limitations:
- Free accounts usually provide limited storage.
- Additional space may require a paid subscription.
- Uploading large libraries requires a reliable internet.
- Weak connections can interrupt photo uploads.
- Files are stored externally on cloud servers.
Review your account’s security and privacy settings. Organize your photos before uploading large collections. This makes browsing and downloading pictures much easier.
Transfer Using Bluetooth
Bluetooth is another option for wireless photo transfers. It doesn’t require Wi-Fi or mobile internet. This makes it useful when internet access is unavailable.
However, Bluetooth usually transfers files more slowly. It’s better suited for occasional or smaller transfers. Some desktop computers may not support Bluetooth.
Steps to Transfer Photos Using Bluetooth
First, enable Bluetooth on both devices.
- Open Settings on your Android phone.
- Select Bluetooth and turn it on.
- Enable discoverability if your phone supports it.
- Open Settings on your Windows computer.
- Navigate to “Bluetooth & Devices”.
- Turn on Bluetooth on your computer.
- Select “Add device” and choose Bluetooth.
- Find and select your Android phone.
- Check the security code on both devices.
- Confirm the pairing request on both devices.
Once paired, prepare your computer to receive files. Open “Send or receive files via Bluetooth”. Select the option to receive incoming files.
Now locate the picture on your Android phone. Tap “Share” and select Bluetooth. Choose your paired computer from the available devices.
Accept the incoming transfer on your computer. Select a destination folder for the received picture. Click “Finish” to complete the transfer.
Bluetooth works without internet access. It also provides unlimited local storage, subject to device capacity. However, it offers fewer backup and management features.
Transfer Using Wi-Fi
Sometimes, you may need to move files backwards. For example, you might want computer photos on Android. Droid Transfer supports transferring files in both directions.
You can transfer individual files or entire folders. Its drag-and-drop functionality makes file management easier.
What Can You Transfer from PC to Android?
Droid Transfer supports different types of content:
- Photos and videos: Add pictures and videos from your computer.
- Music: Transfer songs from your computer or iTunes.
- Contacts: Import contacts through vCard or CSV files.
- Files: Move individual files or complete folders.
You can use either Wi-Fi or USB. Choose Wi-Fi for cable-free transfers between devices. USB offers a direct connection when needed.
Before transferring, check your phone’s available storage. Organize files into suitable folders for easier access. This helps keep your Android device organized.
The Bottom Corner
Transfer Photos from Android to PC using different methods. USB provides direct and reliable photo transfers.
Choose according to your connection, storage, and requirements. Regular backups help protect your valuable memories.